It took a few days but I got the scarf woven and off the loom. Man, that was tedious. The yarn was basically the same color as the loom, my hands and the table and it was really difficult to stay focused.
I did some simple fringe. As you may recall, I had some issues warping so one end was a little short but short fringe is fine!
When I was in Frederick I “foraged” some marigolds and a few mums to do the eco print. I stuck them in the fridge overnight so they didn’t dry out.
Sunday morning, I whisked together 1 tablespoon plus 1 teaspoon alum and 1 cup water in my big pot. I brought it to a boil. I then added about 2 quarts of water, the scarf and 2 clean, new “flour sack” towels from Aldi I had on hand for craft purposes and simmered it at 180° for 20 minutes.
I pulled them out of the liquid and into a basin.
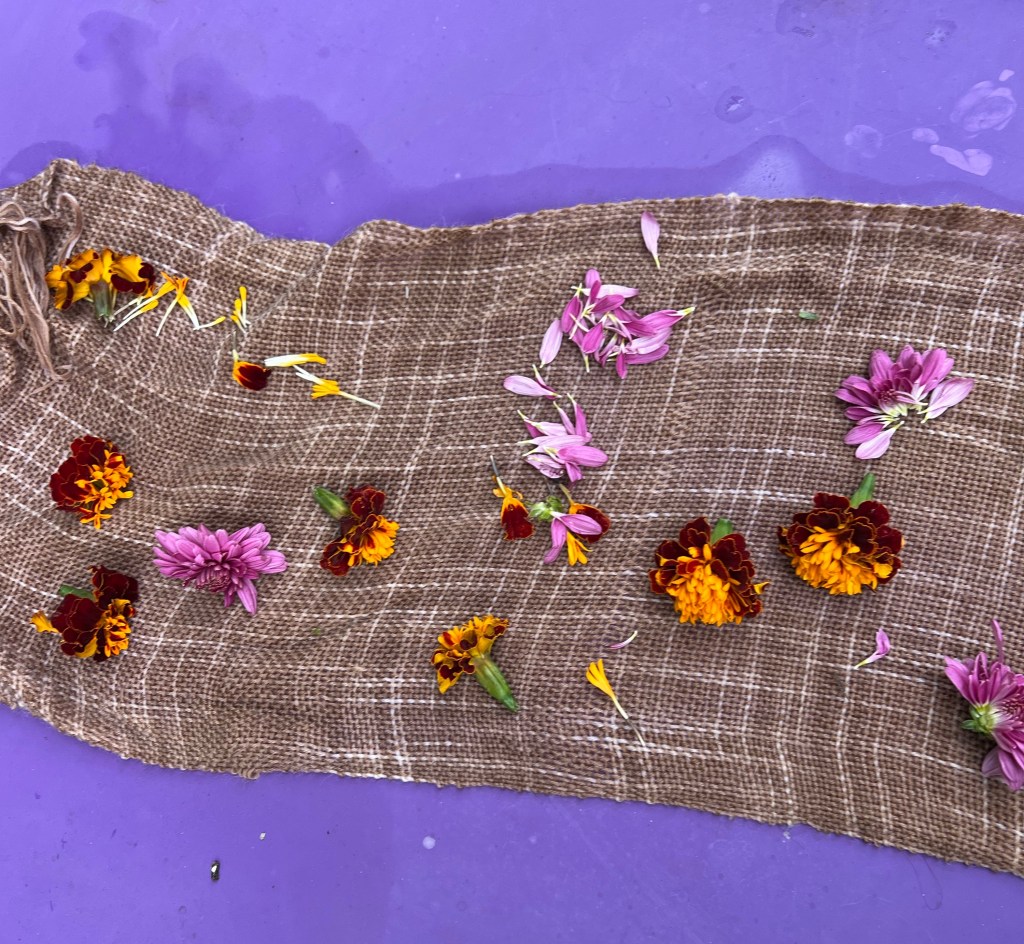
I took them right outside to my big table and laid out the scarf. I sprinkled it with flowers and topped it with the the towels, folding the towels to the width of the scarf.
I placed two skewers on the end (one would work but I only had shorter ones) and tightly rolled the towels/scarf around the skewers. I tied it shut with kitchen twine.
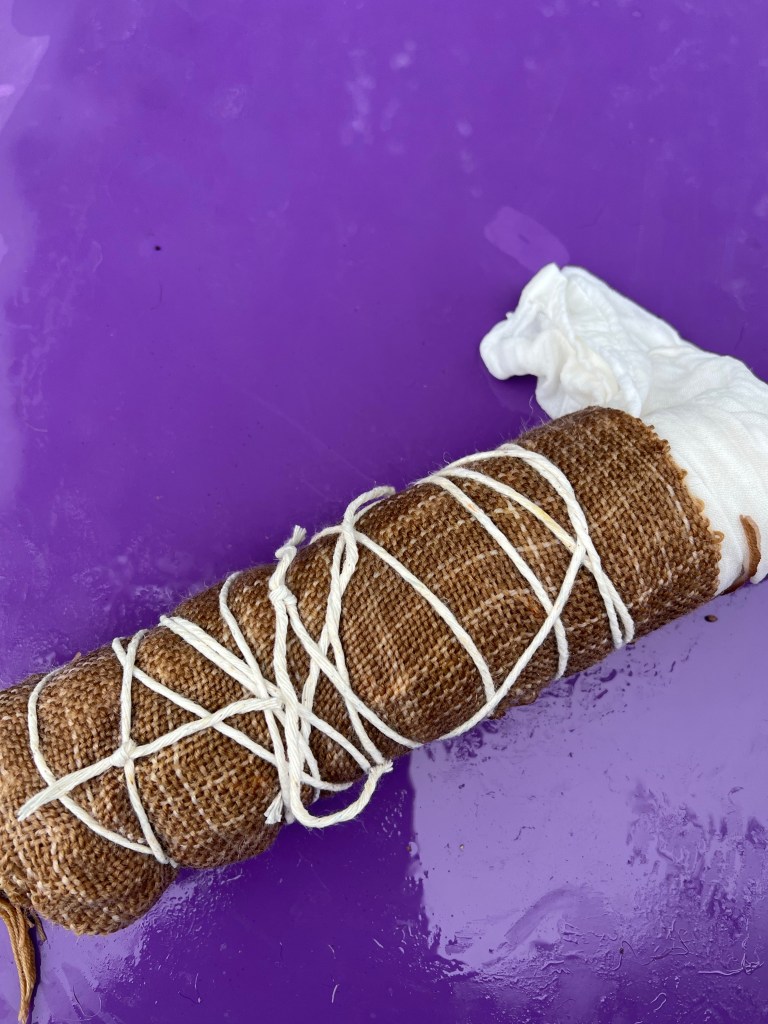
I dumped out the alum water and added fresh water to cover the bundle. I boiled it for 1 hr, turning it every 15 minutes.
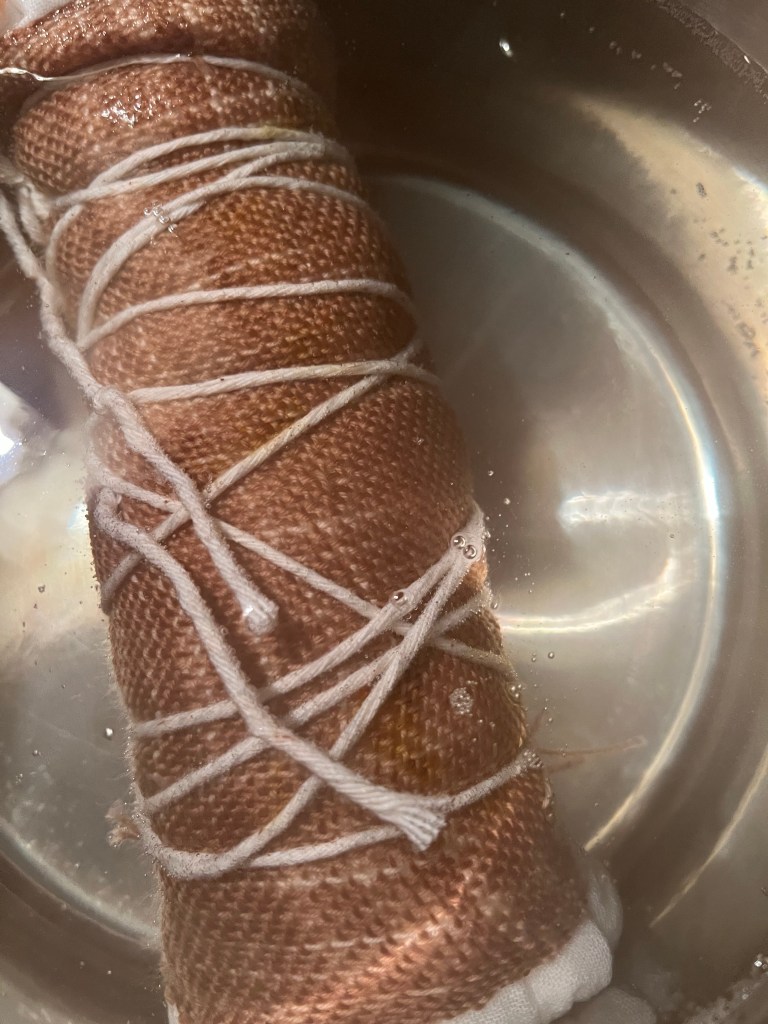
I removed it from the pot and placed it in a basin for 24 hrs.
I did a lot of reading about eco printing. Like everything else with weaving and dyeing there was no real consensus on how long or how exactly to do anything. A manufacturer of alum had you soak the cloth cold, other sources said you had to heat it. Some had you steam or pressure cook the bundles, others had you boil it for 15 minutes, an hour, two hours, four hours, soaking overnight. Some used a mordant like alum (which I chose hoping it would be more colorfast and bright) some did not. Some used iron, some used nothing.
I decided just to do what made sense and hope for the best. I didn’t want to monitor a pot for hours so I didn’t. I couldn’t fit the bundle into the steamer compartment so I boiled it. I don’t know how people boiled or steamed larger bundles! This was a small scarf in a 8 qt pot and it was tight. I did see one example where they wrapped around hoses because that was what they had on hand and that seemed to work rather well because you could form it into a circle and fit it in the pot more easily.
Some sources had you keep the bundle wrapped up for a week! I don’t know where they live but that sounds like a recipe for a moldy project to me.
After I planned all this out and started executing the project a book I ordered from the library came in, The Modern Natural Dyer: A Comprehensive Guide to Dyeing Silk, Wool, Linen, and Cotton at Home by Kristine Vejar which has a similar project but eco printing on old wool fabric/blankets to turn into an a sewing kit of some sort. Her instructions were a bit different than what I ended up doing, timing-wise but it was good to see what I pieced together was on the right track.

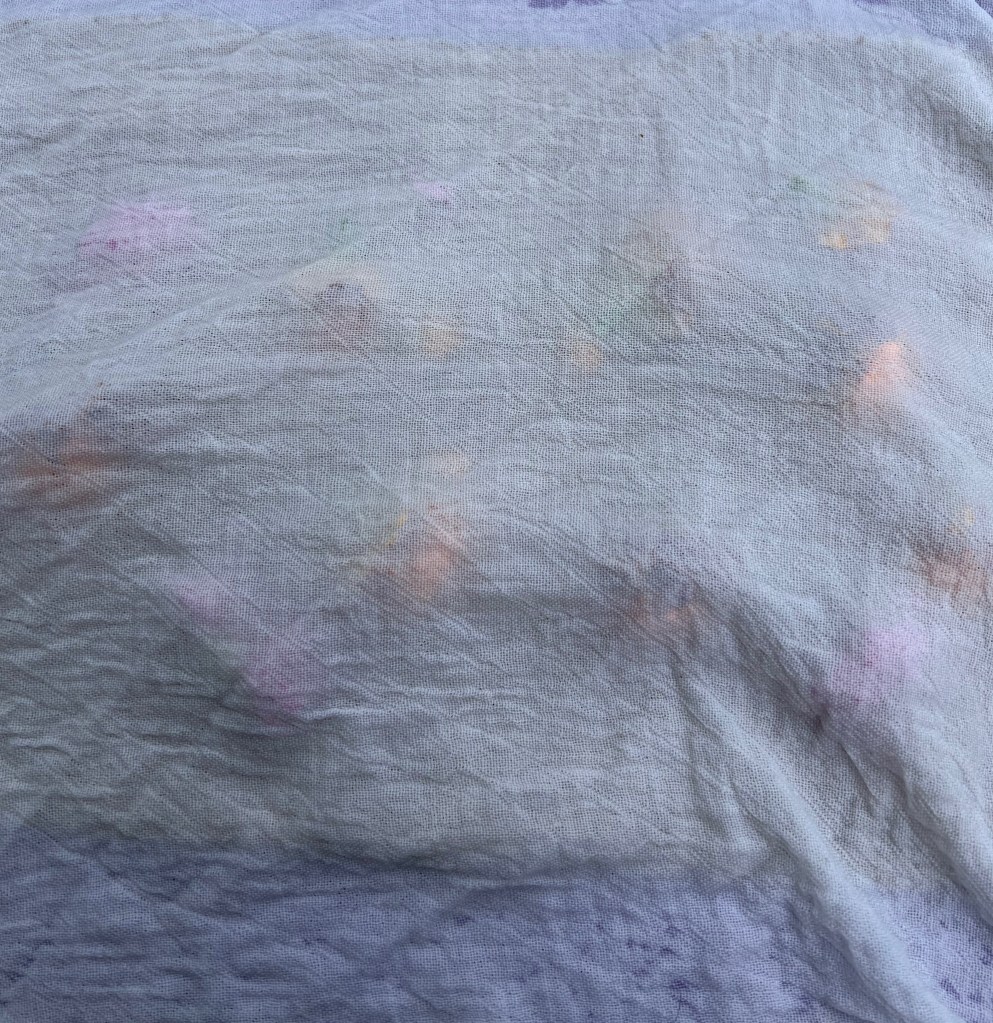
[…] don’t love brown or earth tones so I was hoping the eco printing would add some vibrancy to the scarf. I used what I could find and while it did add color, it was […]
LikeLike