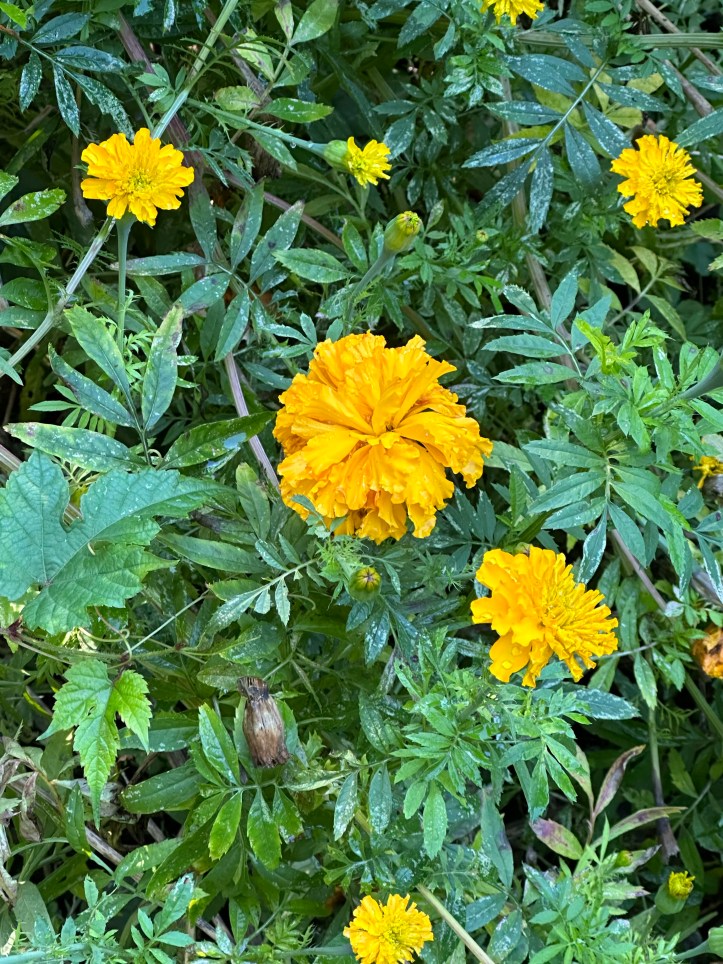
I was hoping this would be a series about dyeing with the red amaranth, indigo, and marigolds we planted back in May. However, we didn’t end up with enough indigo to make a dye pot, the red amaranth looked good but between the travel, writing, assembly, and accounting I had to do for my grant-funded cookbook Aspics, Chicken Salad, and Ice Cold Celery: Finding Community through Maryland Recipes, going to NJ for a weaving class for almost a week, tons of September rain and general life events I didn’t really have time to devote that many hours to dyeing until today. Unfortunately, the colder temperatures at night withered the plants a bit. I’ve heard they are self-seeding so fingers crossed they come back! The marigolds, however are living their best life and taking over the back half of my yard.
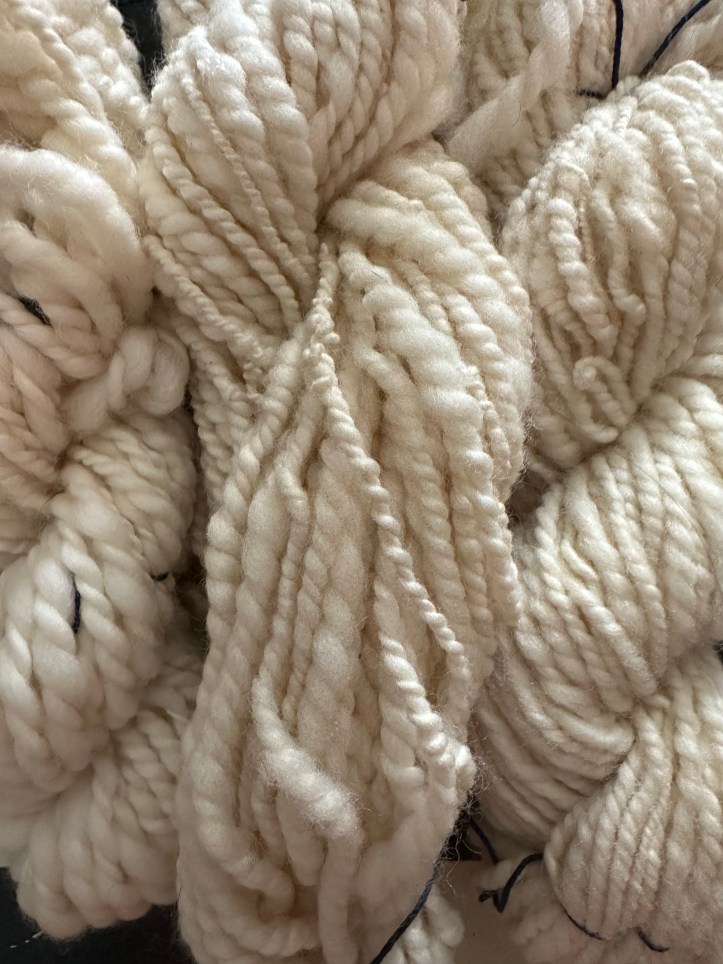
My initial thought had been to dye wool but I thought it seemed a little too fraught so a few weeks ago I spun some yarn from some undyed Corridale roving I bought on Amazon from Revolution Fibers. I don’t want to jinx myself but I can’t ever see cleaning and carding a whole fleece on my own and this seemed like the next best thing. I am not a perfect spinner and I wanted a natural, literally “home-spun” look.
I did not do anything terribly new or innovative with the dyeing. Marigold dyeing is pretty straightforward. However, I don’t see a lot people writing about doing any sort of dyeing in small spaces the way I do. I don’t have outside water hook up and very little space for specialized equipment. I do not want to dye pounds and pounds of yarn or fiber or fabric. I want to do little fun projects and not get overwhelmed. If that sounds like you, this post is for you.
I used the pasta pot I used when I did the black walnut project this time last year. It really is the best pot. It has a large lift out stainer that I was able to fill with the walnuts then and the marigolds now to cook and then easily discard.
I added about a 1/2 tablespoon of alum to warm water and dissolved it in the pot. Then I added the yarn and left it to cook on low for about five minutes.
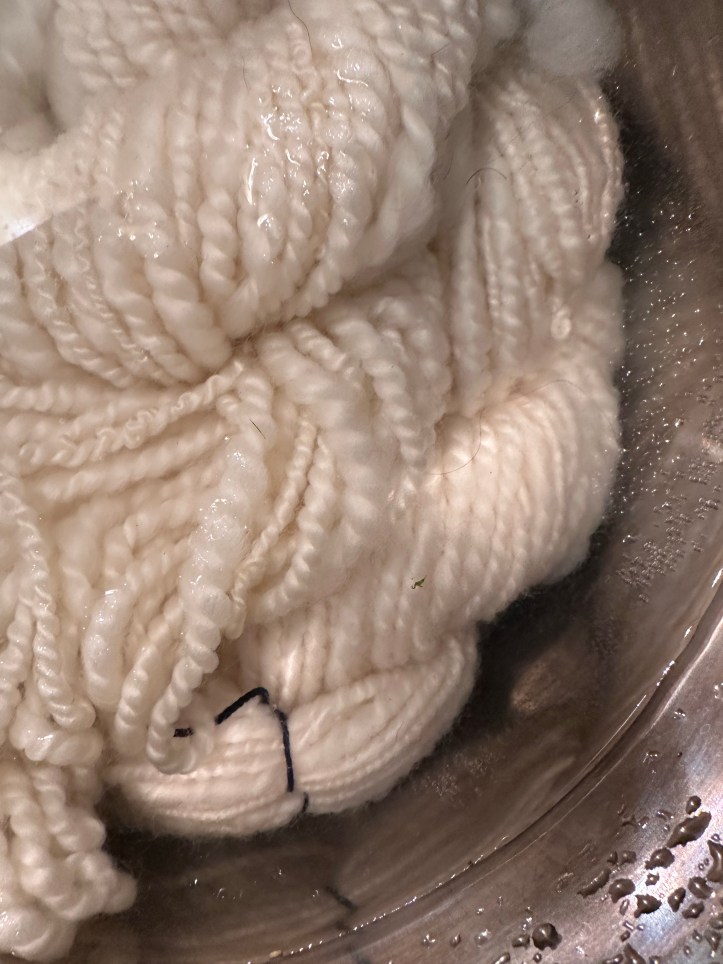
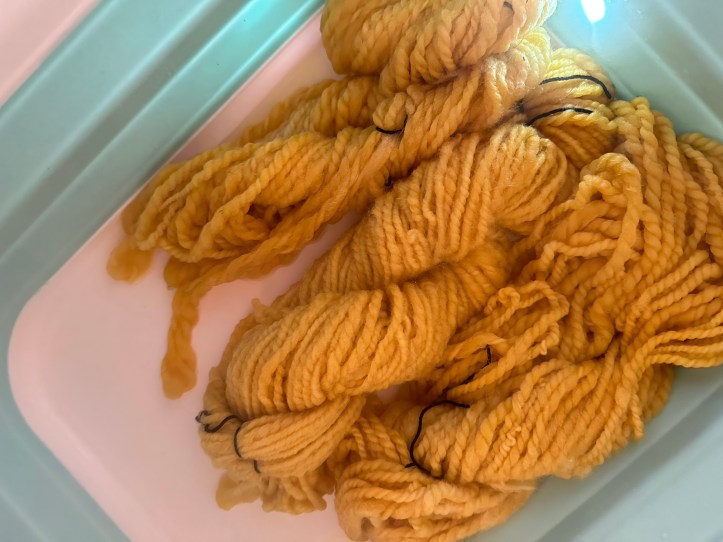
I drained the pot and put the yarn in a new collapsable basin I bought.
I heated up more water and added the marigolds to the steamer insert. I had about 6 cups of marigold heads. I did not leave any stems on because according the aptly named Anne Dyer’s 1976 book Dyes from Natural Sources that gives the yarn a green-khaki look which I knew I would not like.
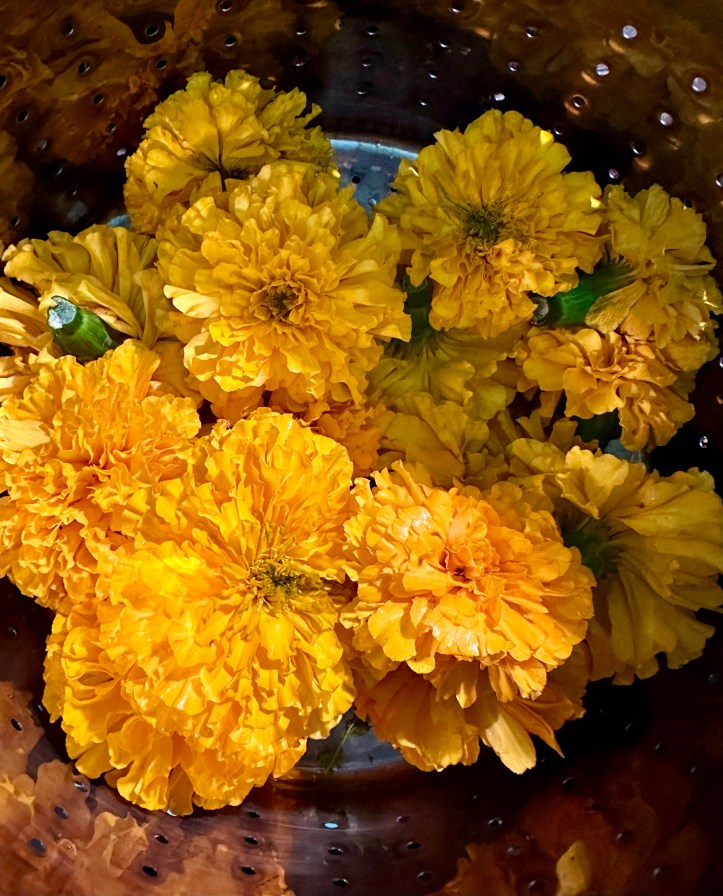
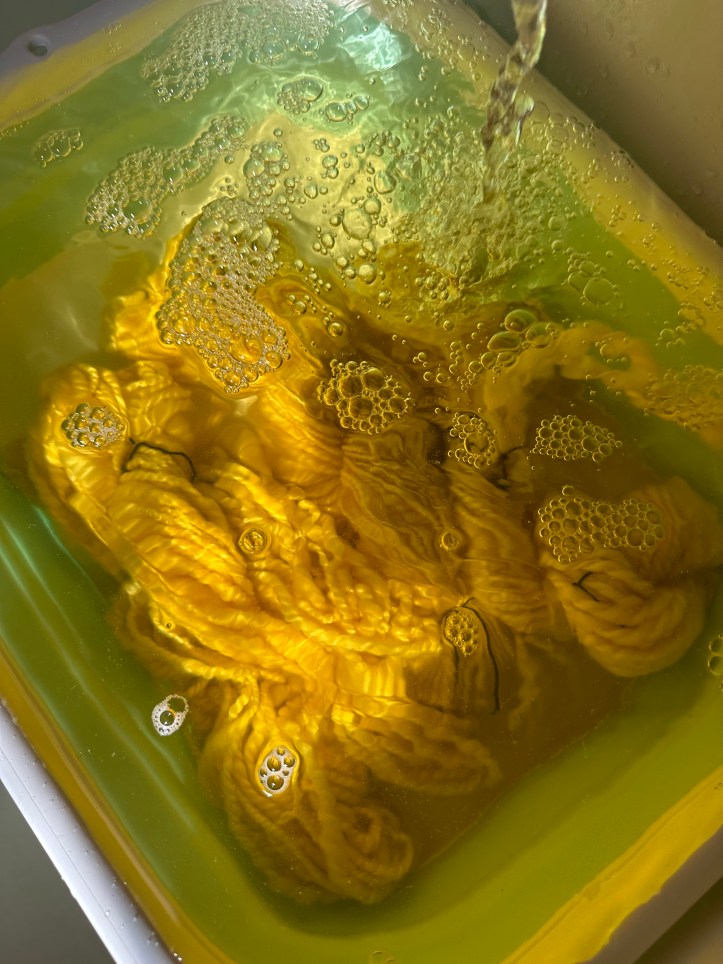
I let that boil for about 25 minutes until the water was golden yellow. I lifted out the steamer and discarded the marigolds into my front yard.
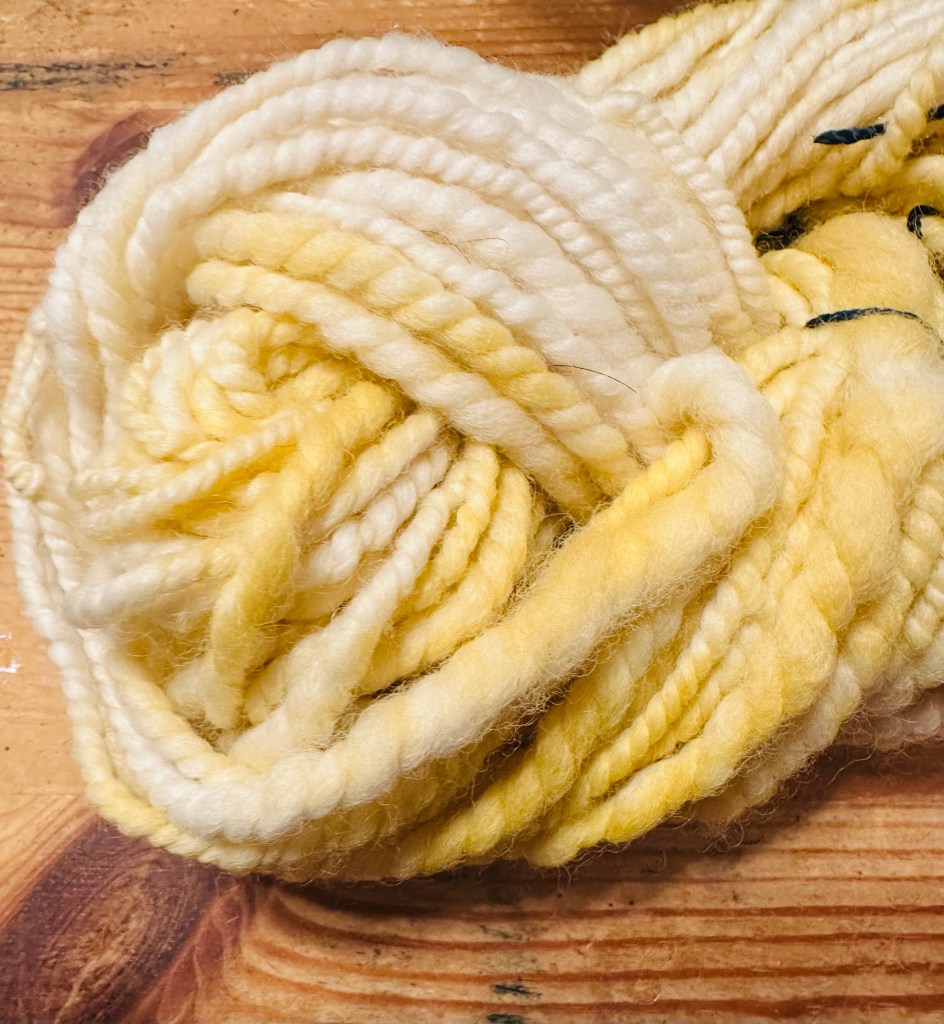
Placed the yarn in the yellow water and simmered it for about 10 minutes until it was butter yellow. I left the hanks kind of twisted so I’d get a bit of a mottled effect. You can leave both the flowers and the yarn in longer if you want it darker.
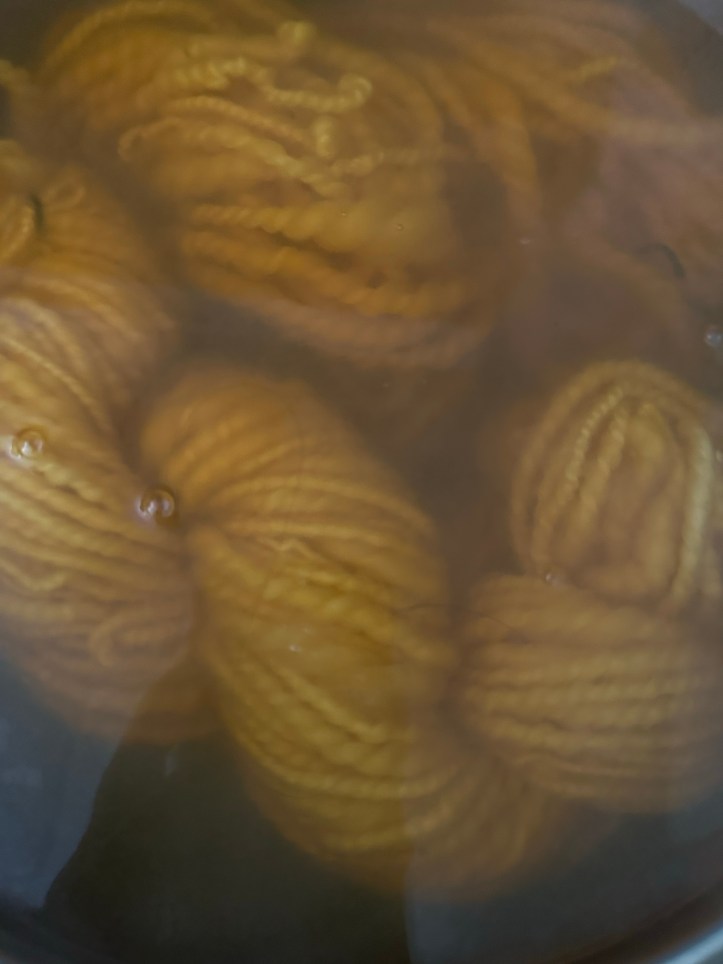
I put the yarn back in the basin.
Then I ran it under cold water in the basin in the bathtub until when I squeezed the yarn, the water ran out clear.
It’s a sunny afternoon so I set them out to dry on some bubble wrap on our picnic table.
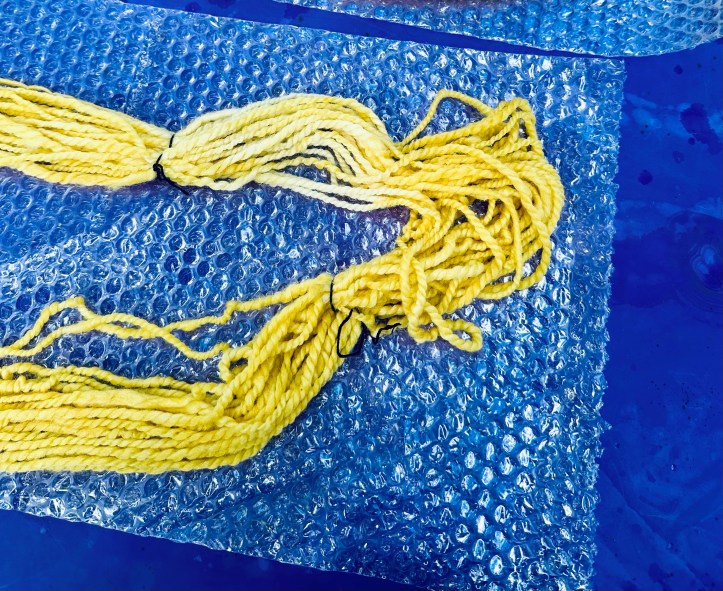
That’s where it is now.
Fingers crossed it dries quickly! I’ll have to update when I use it in some project, eventually.
10/11/23 update! They didn’t dry yesterday so I brought them in and put them back outside all day today. The lighter yellow parts faded almost to white! It is very buttery looking now. Next time I might dye them darker knowing that the sun might lighten them up quite a bit as they dry.

[…] I dyed yarn I spun with marigolds I grew in our yard. I also wrote about writing my latest cookbook […]
LikeLike
[…] which was what I had expected so I will have to figure that out. Maybe I will add in some of my home-dyed marigold yarn? I have some variegated yellow from a knitting pattern I unraveled that might work […]
LikeLike